capture one tutorial

Overcoming Challenges to Create a Clean, Descriptive Image of a Tight Space

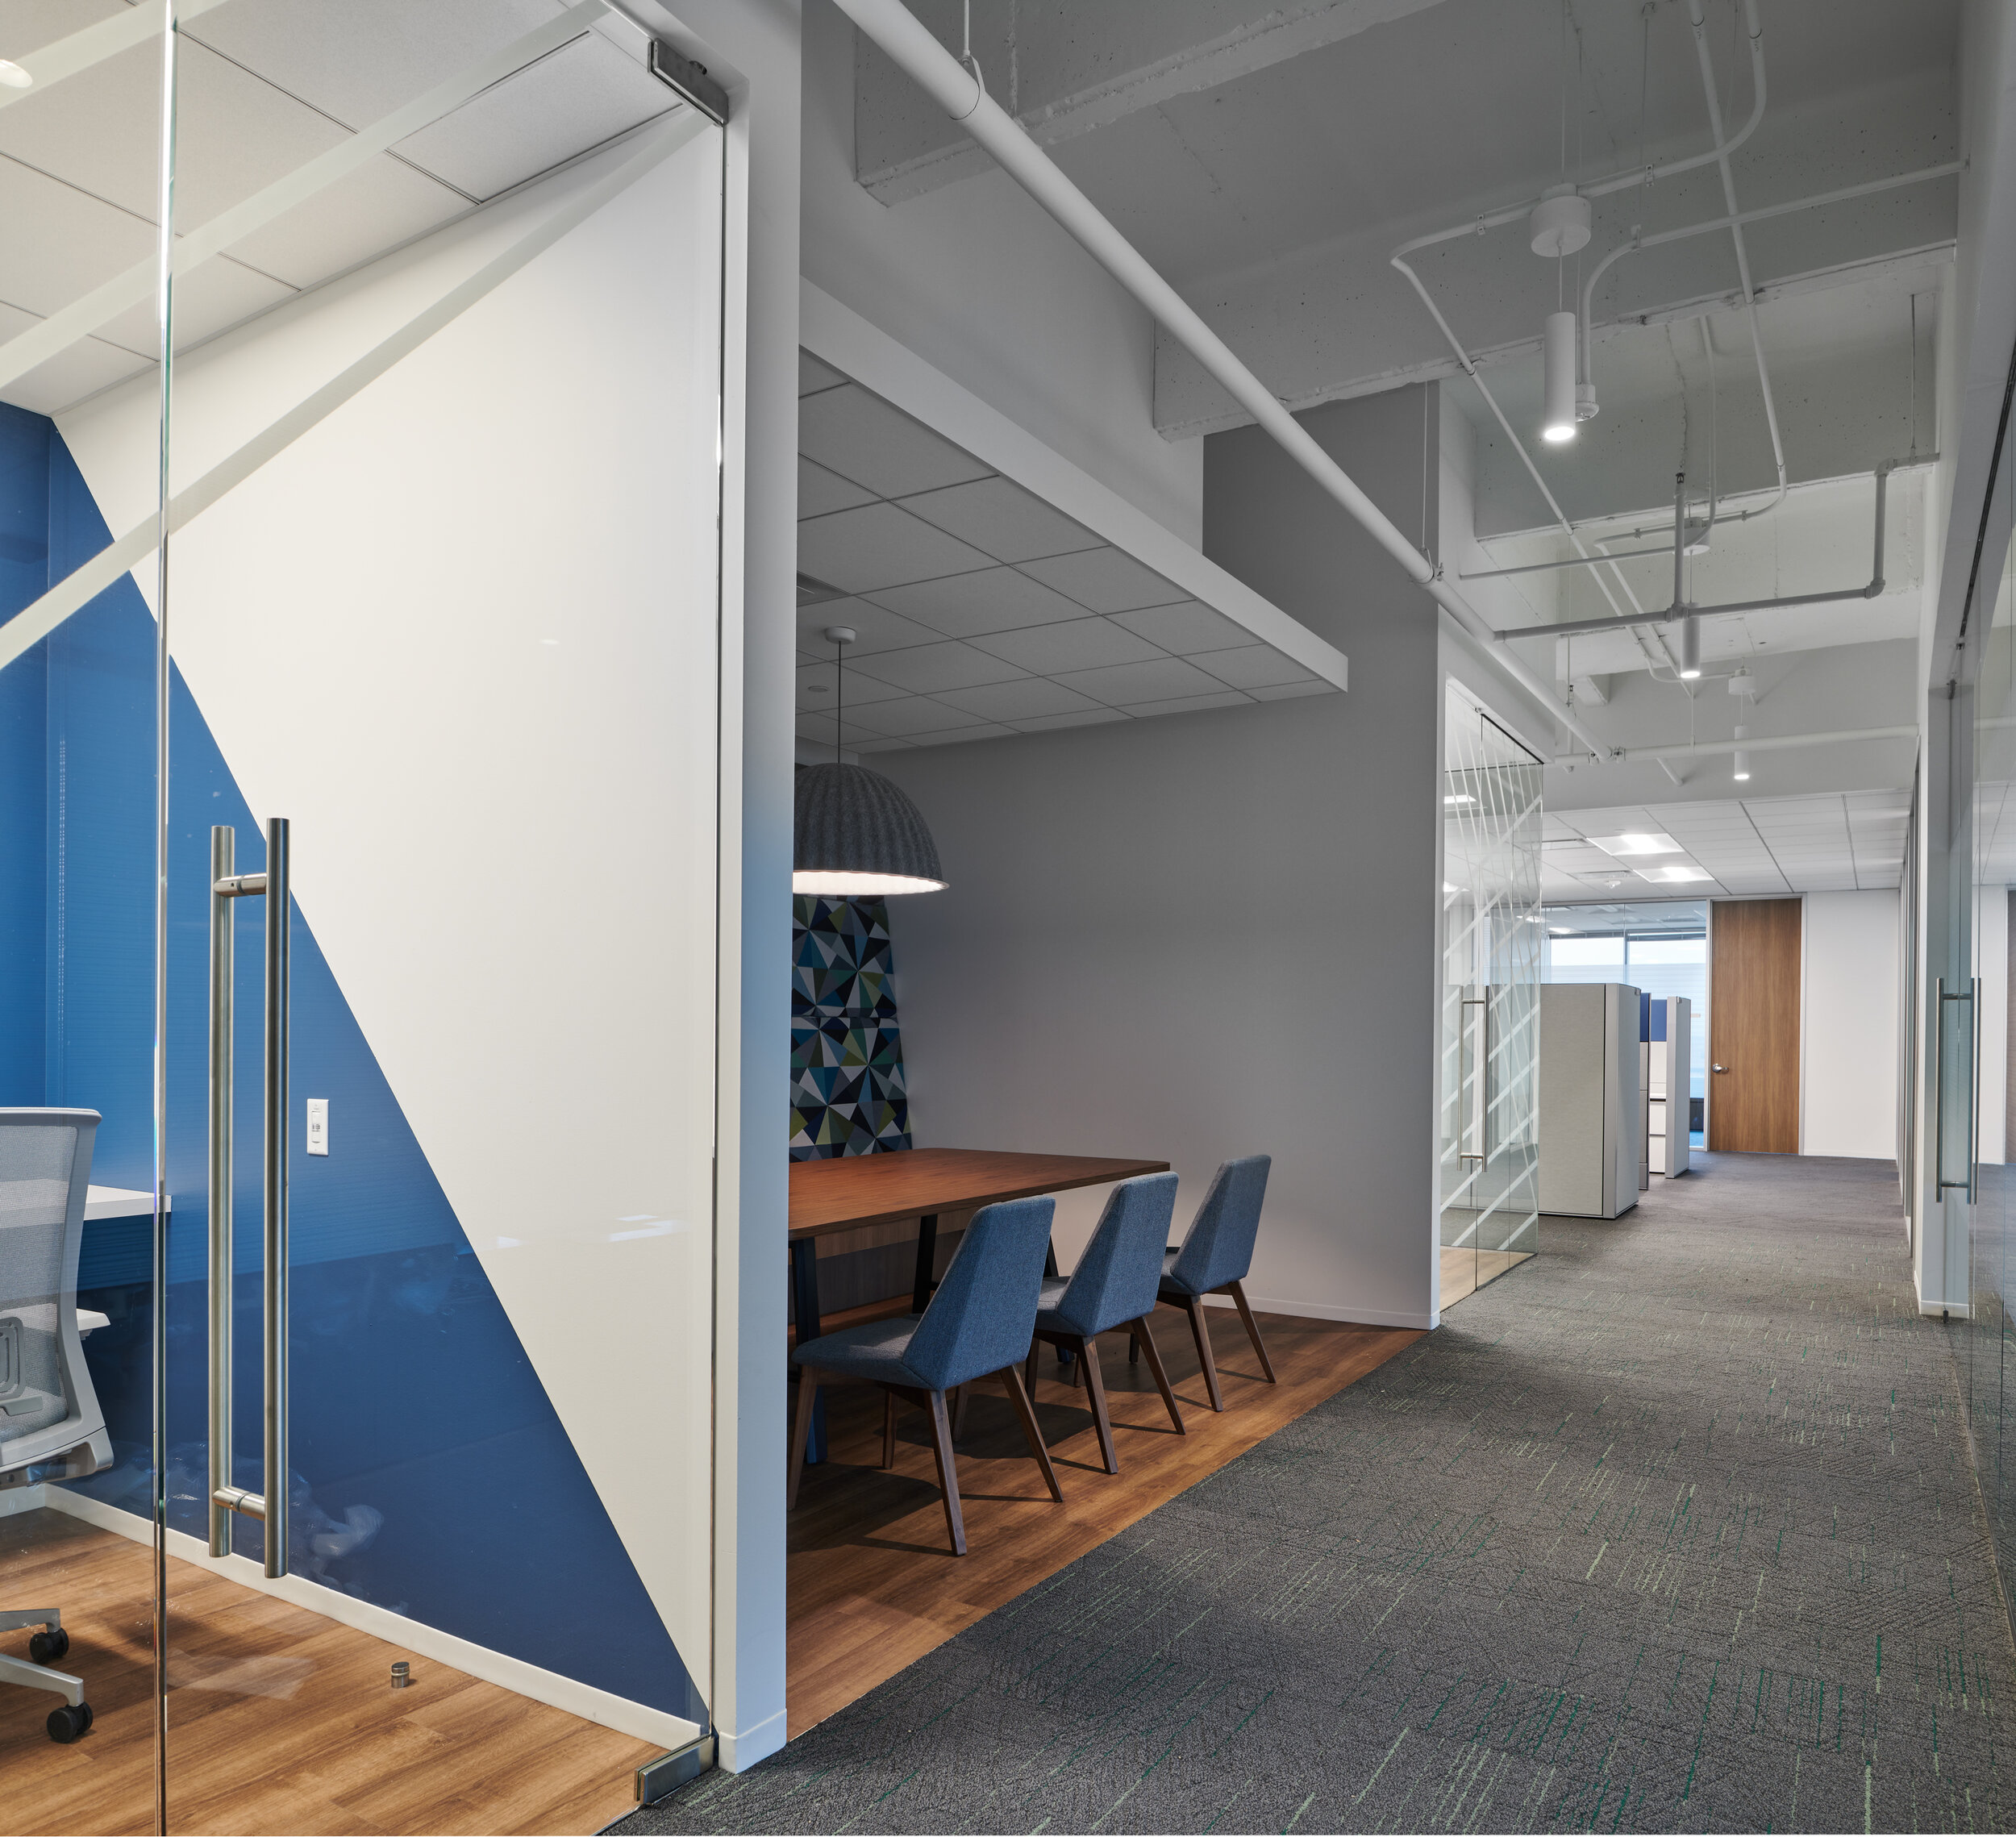
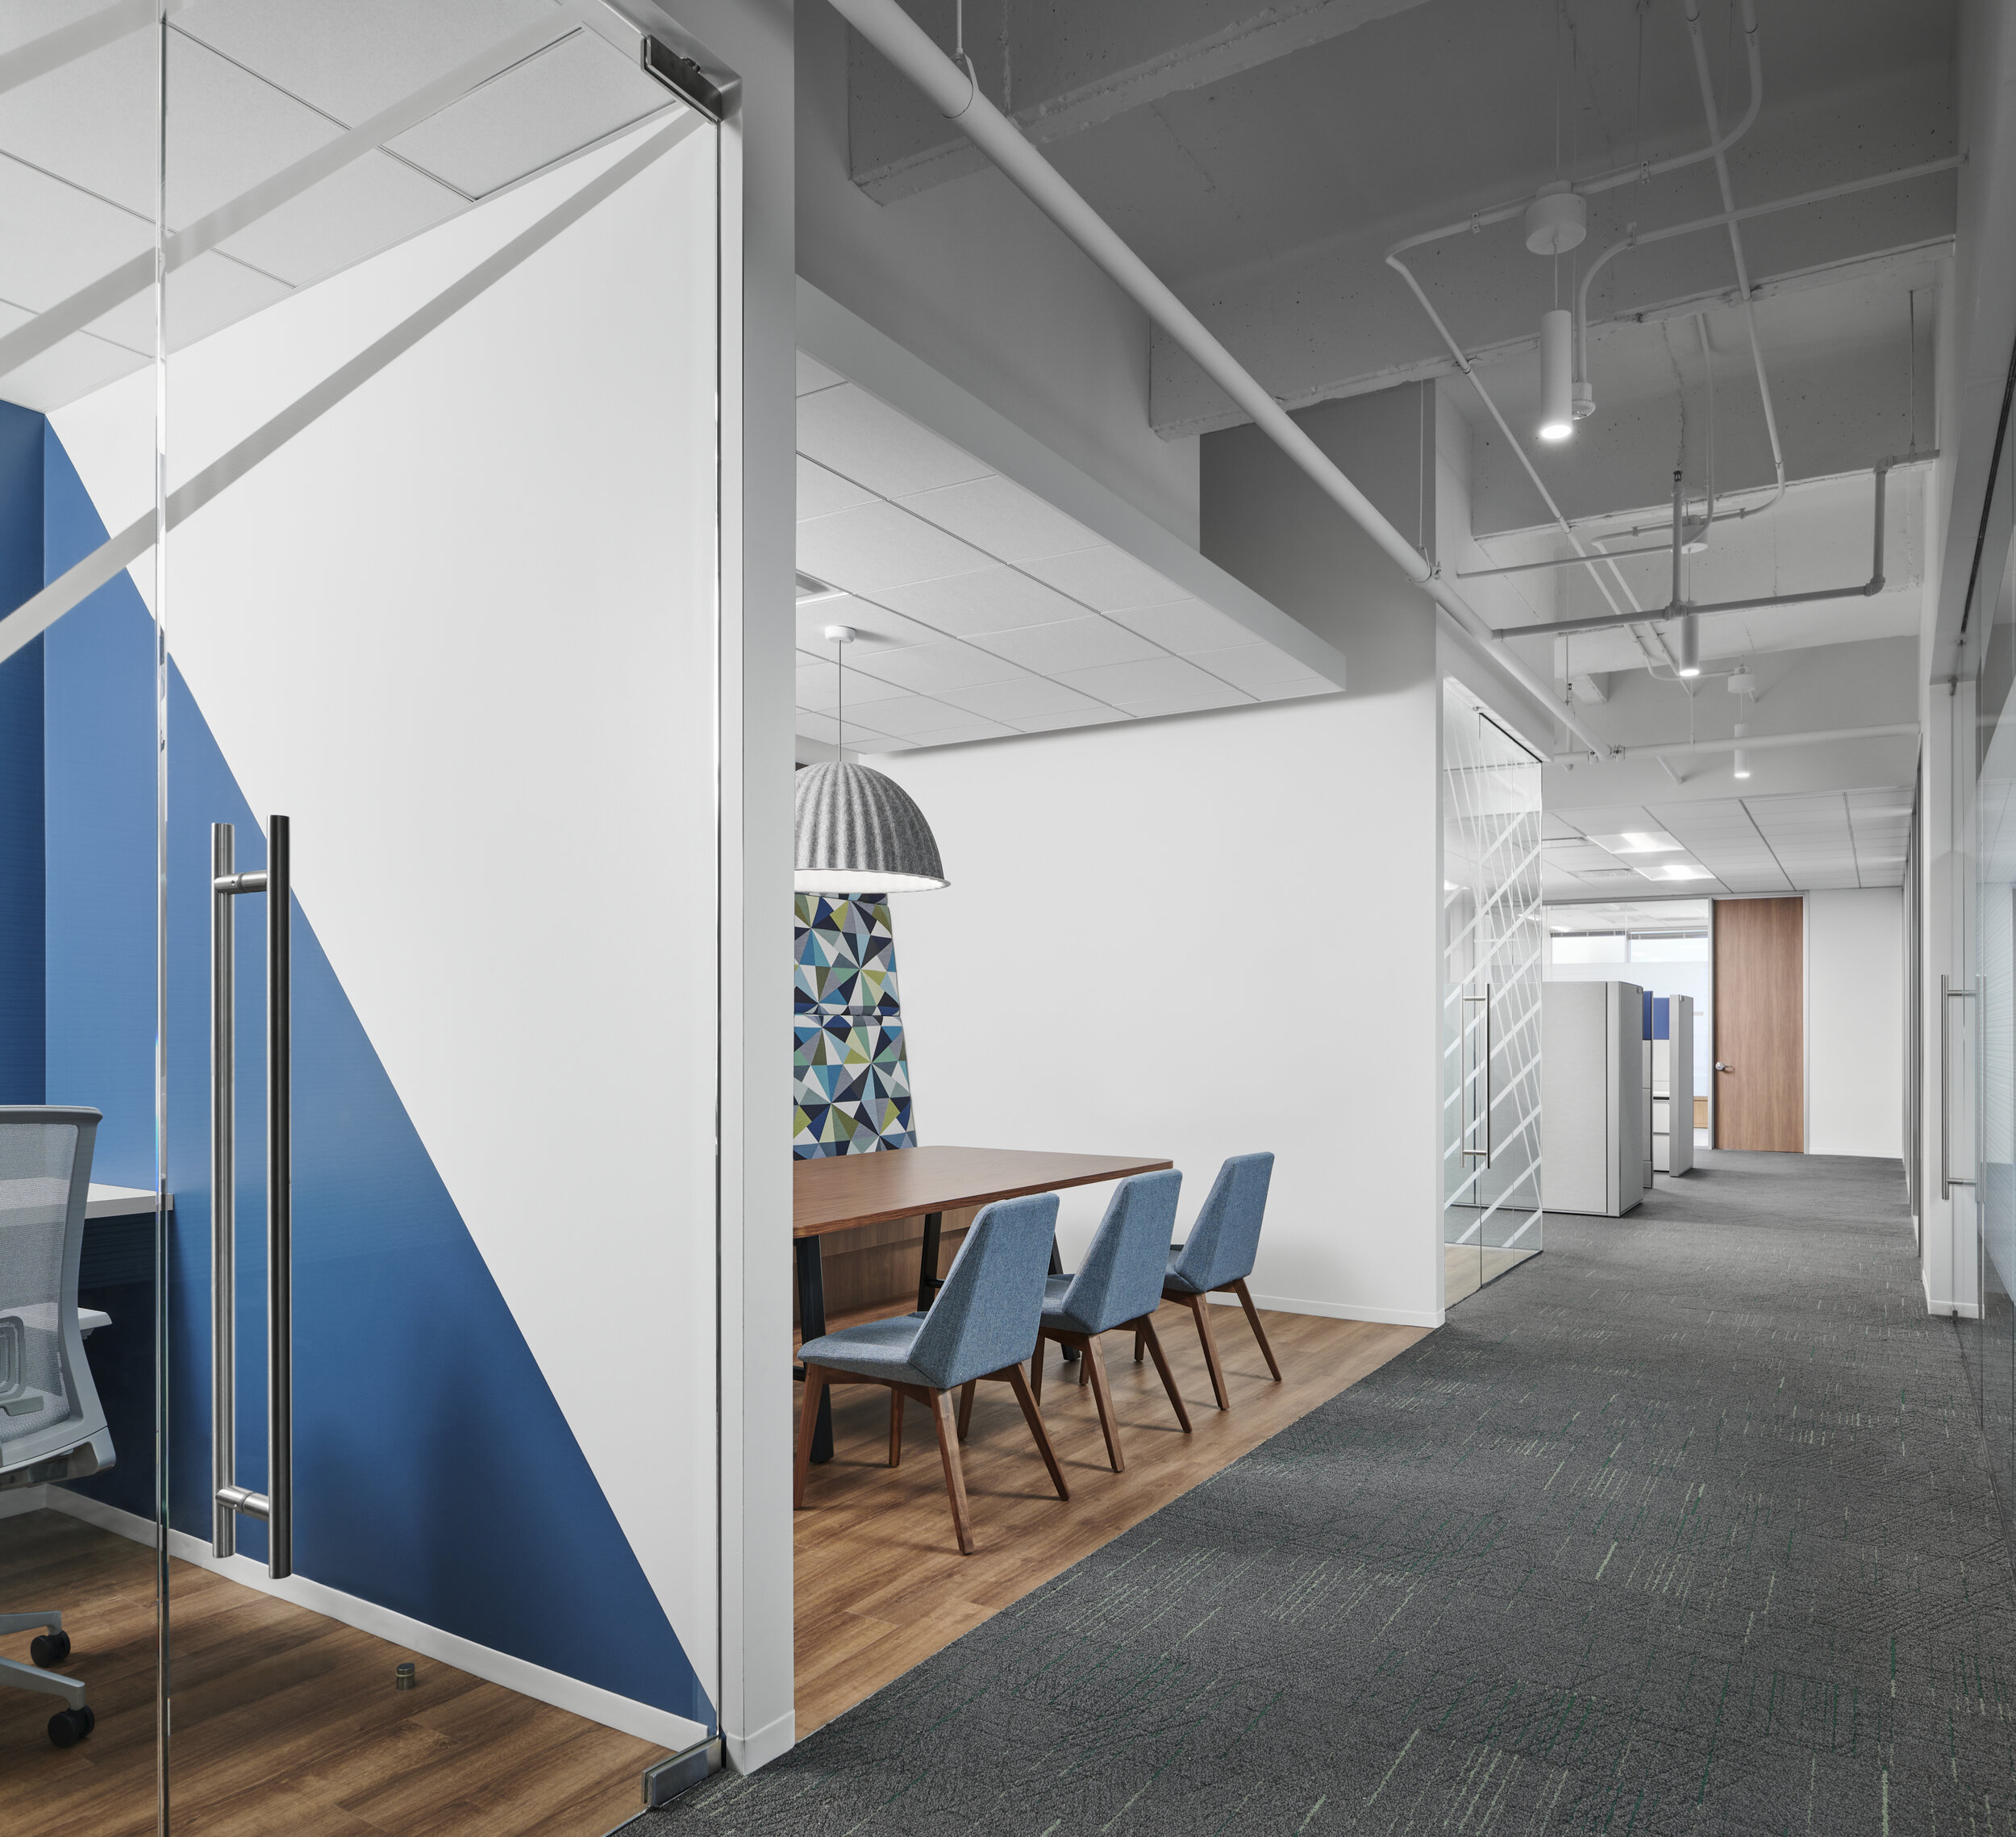
Every composition when shooting workplace interiors comes with a unique set of challenges. Reflections, varying color levels and temperatures, malfunctioning building systems and more are often things we have to overcome in order to convey the overall design intent and vision. In the image below, we were tasked with showing a fairly complex space located at the end of an office space that contains a variety of spaces - two phone rooms, an open breakout space, work stations, offices and an adjacent conference room - WHEW. To make things even more tricky, lighting levels between the spaces were very inconsistent, particularly the central breakout space which was only lit with one large pendant, making it appear quite dark in an image with available light compared to the corridor and adjacent rooms. And on top of everything, I wanted to capture all of these spaces in one image in order to show their connectivity, so opted to do a vertical stitch using my 24mm tilt shift lens to help illustrate the open ceiling of the corridor.

When approaching a shot like this that joins multiple spaces which all could benefit from supplemental lighting, my instinct is generally to treat them individually, with an overall plan to combine them strategically in post. To begin with this strategy, I first run through a round over ambient frames in order to capture things as they are. From here we begin shooting each individual space with supplemental lighting at a fast enough shutter speed to regulate any ambient light that we could not control. Once this has all been captured, all that’s left to do is to jump into the computer to piece it all together, which is where the video below picks up.

As with most of my interiors shots created in this way, I first run through some quick RAW processing in Capture One to get each frame that will be used dialed in at the levels and white balance that I want including one frame specifically for the ceiling information which I spend a little more time on ensuring that the white ceiling doesn’t have any color contamination. From here I move into Photoshop, run a script I’ve got to auto merge and align the images, and can begin the exposure blending, color corrections and retouching. Since beginning to share these processing videos, I am frequently asked about the time it takes to do this work in post and the value of it. This image took 50 minutes from start to finish in the computer. As for the value, all I can say is that with time, I feel that I have become very efficient in the way I go about both my post-processing and shooting on site and think that with some practice, these things can take far less time than they may first appear. Workplace interiors and similar spaces are inherently challenging ones to photograph, but the reward of providing clients with images that convey their designs as cleanly and straight forward as possible is invaluable.
Utilizing Capture One's Powerful Color Tools to Achieve Accurate Colors of a Space

To the casual reader of this blog (if that exists), you may question why color corrections take up so much of the information discussed when describing the process of creating an accurate and pleasing architectural image. For those of us in the industry, producing accurate colors to represent a space as honestly and straight forward as possible is one of the most challenging parts of the job. In many of my past posts discussing this process, I often employ a mixture of artificial lighting (flash) and saturation control in Photoshop. With larger spaces, we are often at the mercy of the lighting conditions of the spaces we are shooting and very frequently, the mixed lighting conditions in the built environment don’t initially translate well to digital images. The reason for this is that every light source has a varying temperature and when mixed, surfaces take on these temperatures often creating mixed results that are distracting and unpleasing to the eye. Generally this is not something that our eyes register when we are experiencing a place in person, but when capture in a still image, this can often make or break the feeling we get from them. In addition to these varying light sources, another major consideration of how light interacts within a space is the sorts of treatments of color within and how light may bounce off of that to affect the surrounding area.

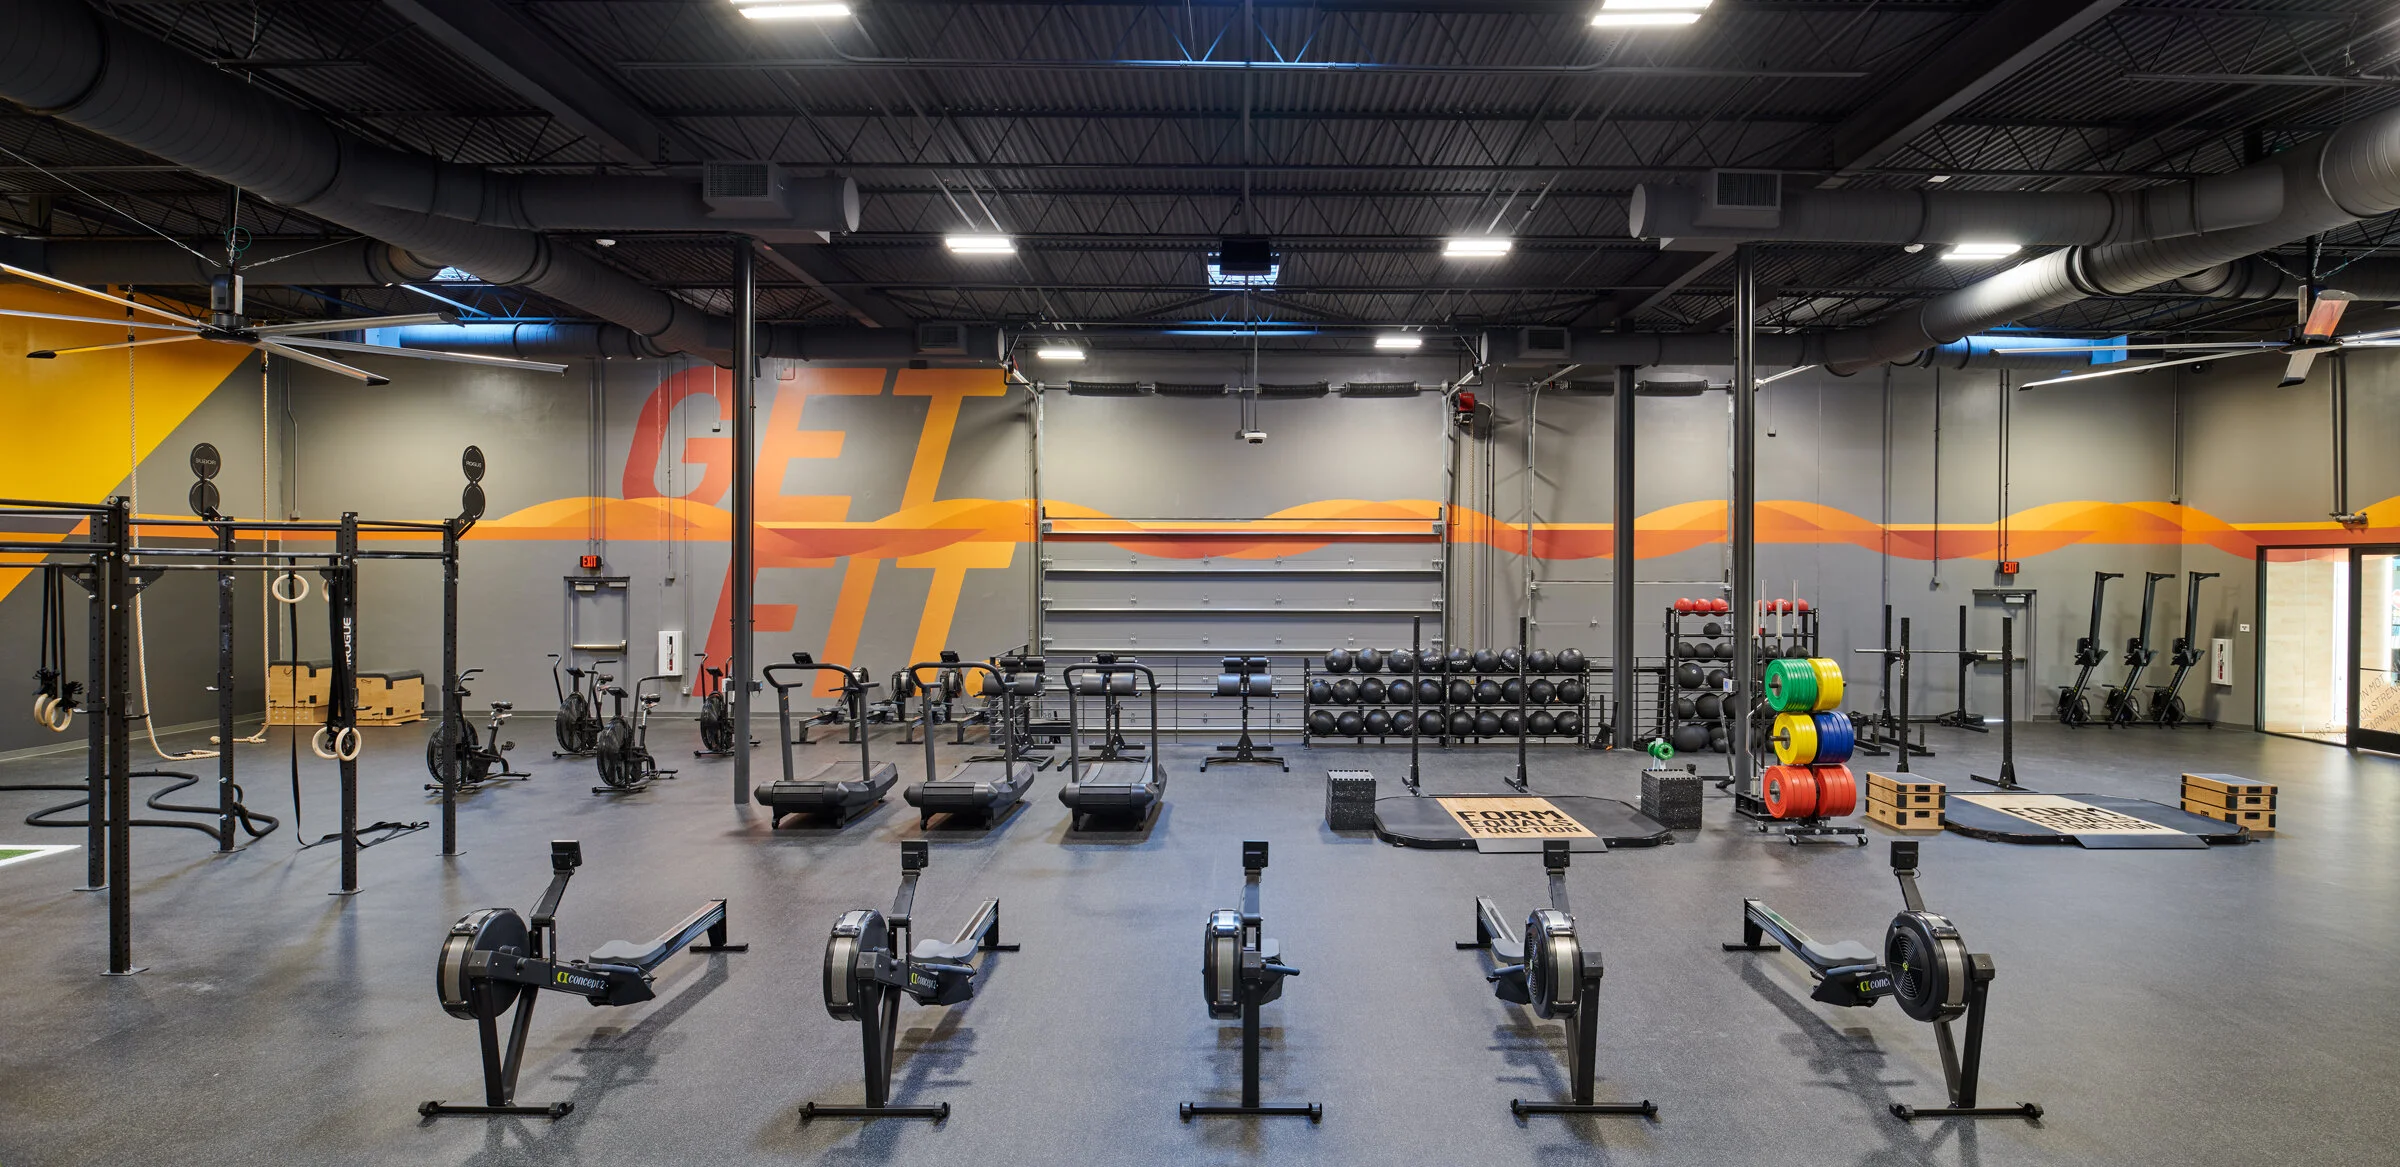
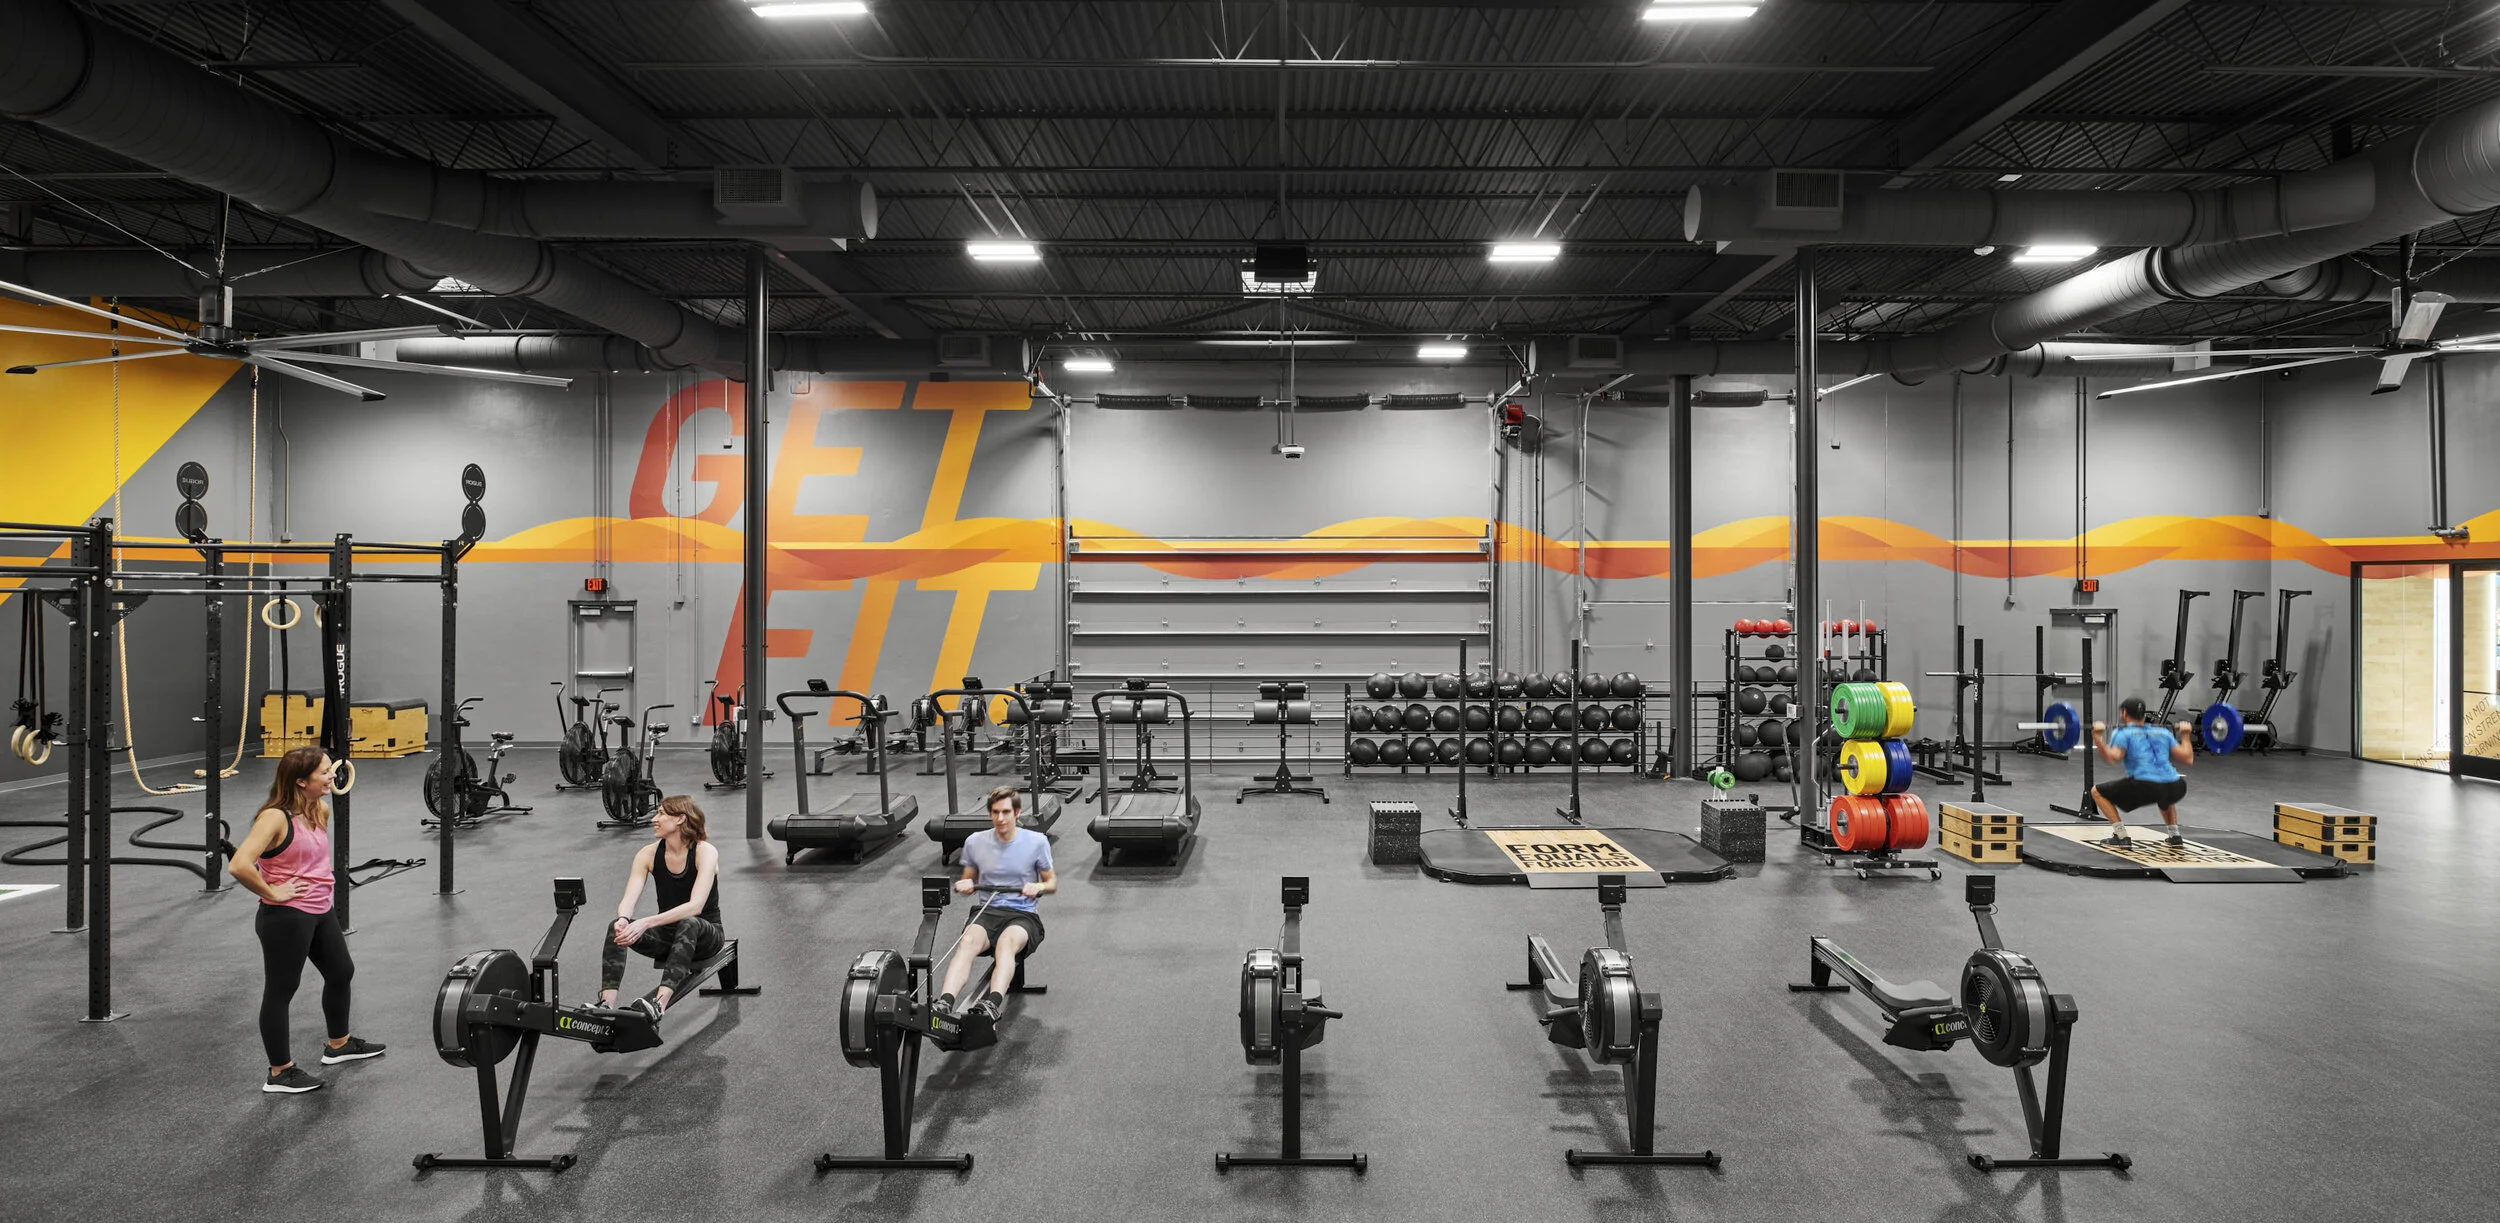
All of these factors are at play in the example below, an image recently created with Perkins + Will in Dallas of their ParkerFit project at Parker University. ParkerFit is a large fitness facility in a revamped warehouse designed to have bold infographics wrapping around its perimeter to encourage movement and activate the space. On one wall, there is a floor to ceiling graphic with the facilities name embedded within, and on others, catch phrases and motivational texts stream across. Lighting wise, the space is lit both by an array of skylights, operable overhead doors and large, warm light fixtures to create a bright, comfortable environment to workout in. For a photographer, it is this combination of factors along with the dark interior finishes that create a particular challenge. From above and at points within the perimeter where the overhead doors exist, we have natural light that streams in with a blue light from the reflected sky. The lighting within is comprised of very warm practical lighting which produce a light several thousand kelvin off from the natural lighting. And to top everything off, the yellow and orange supergraphics are reflected on to all surfaces, creating a very challenging color palette with which to create a clean image that accurately describes the space and materials within.

To process this set of images in order to achieve the look I desired, I relied heavily on Capture One’s very powerful Color Editor tools while working through the RAW conversion before sending them into Photoshop for final retouching and color work. With the inclusion of adjustment layers several versions ago, Capture One opened up the opportunity to create very refined results within our RAW editing software that can be achieved very efficiently. In the video below, I share my process as I work through one of our overall hero shots of the space.

Before color corrections

Before color corrections

Final image after color corrections

Final image after color corrections